Cloud Profile Groups
A profile group in the Undetectable anti-detect browser is a way to organize and systematize cloud profiles. Creating a profile group allows you to conveniently store and manage a large number of profiles, as well as create sub-teams within the overall team structure.
Each user has access only to specific profile groups (or multiple ones), which ensures security and control over profile usage. For example, an administrator has full access to all profiles, while developers or testers have access only to specific profile groups related to their tasks, and farmers or arbitrageurs have access to a third set of groups.
A profile group can be created for various purposes, such as dividing profiles by activity type (e.g. marketing, development, testing), by region or country, by clients or projects, etc. This allows you to organize profiles and quickly find the ones you need for a specific task.
It is important to note that each profile can only be in one group at a time. This guarantees clear separation of profiles and prevents possible conflicts or confusion when using the Undetectable browser.
Managing Profiles in Groups
To learn how to add cloud profiles to a group, change the group of a profile, and work with groups through the program interface, read the article in the section dedicated to profile management.
Creating a Profile Group
To create a new profile group, follow these steps:
- Open the Undetectable anti-detect browser’s cloud panel.
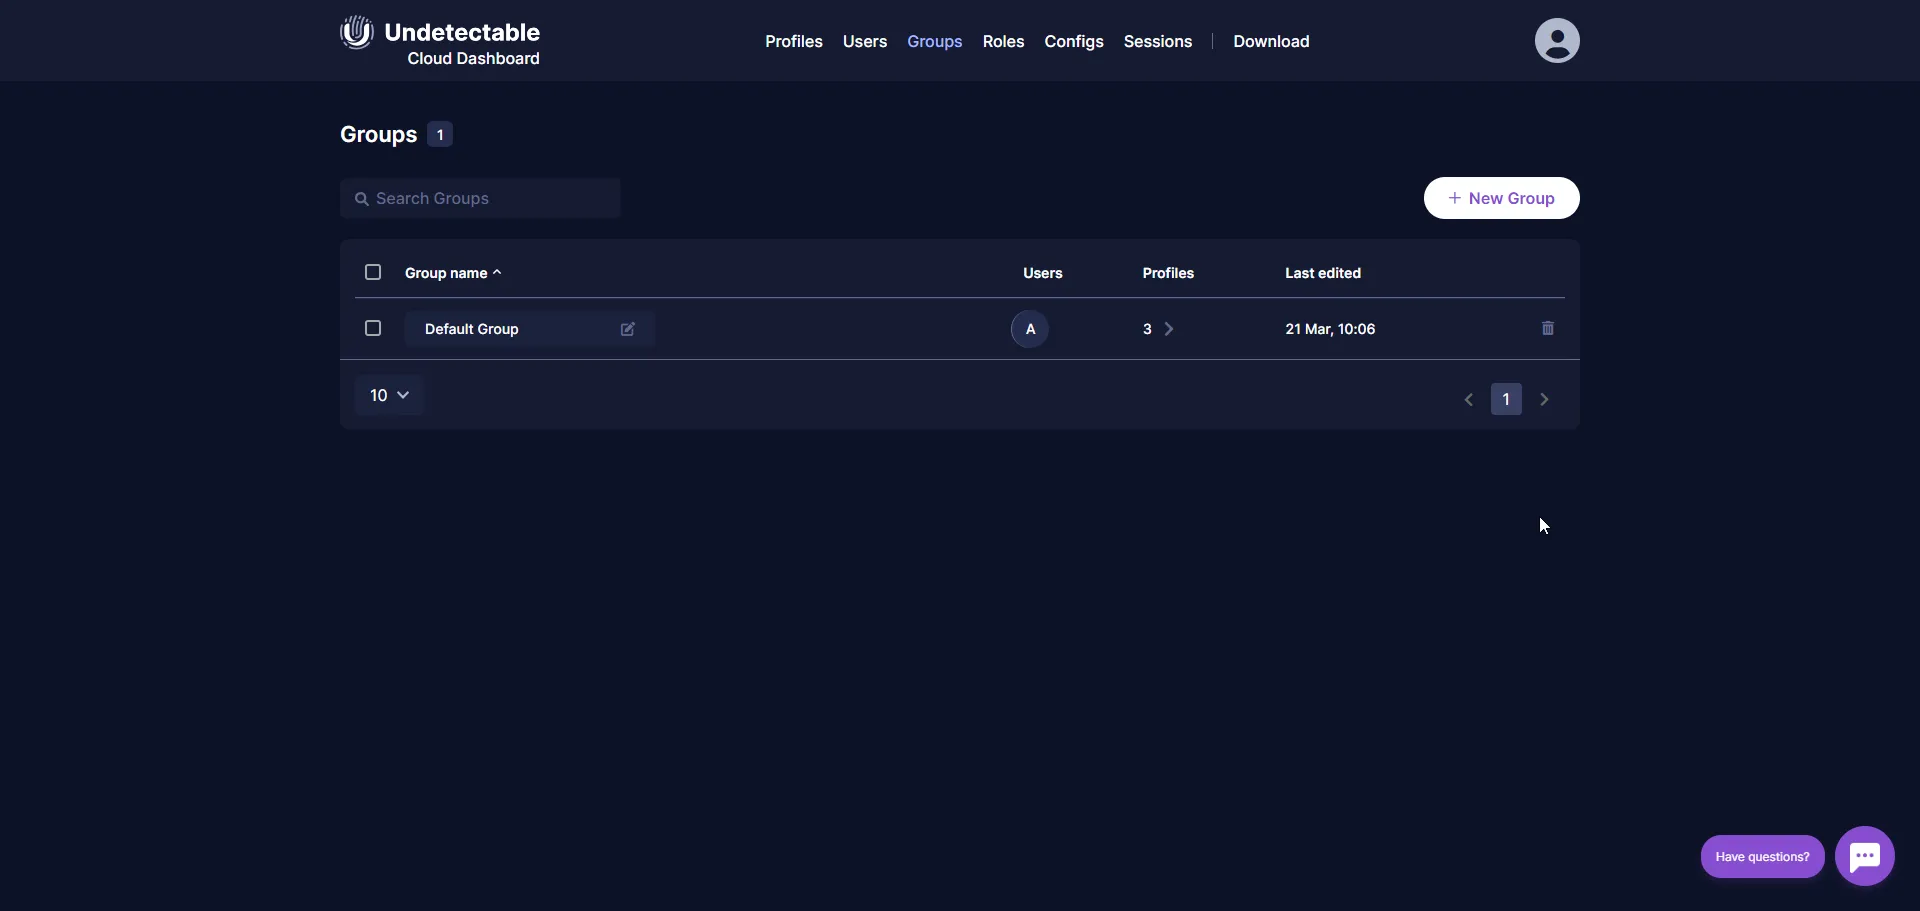
- Go to the “Profiles” tab. By default, after registering in the program, there will be only one profile group named “Default”. All team members automatically have access to this group.
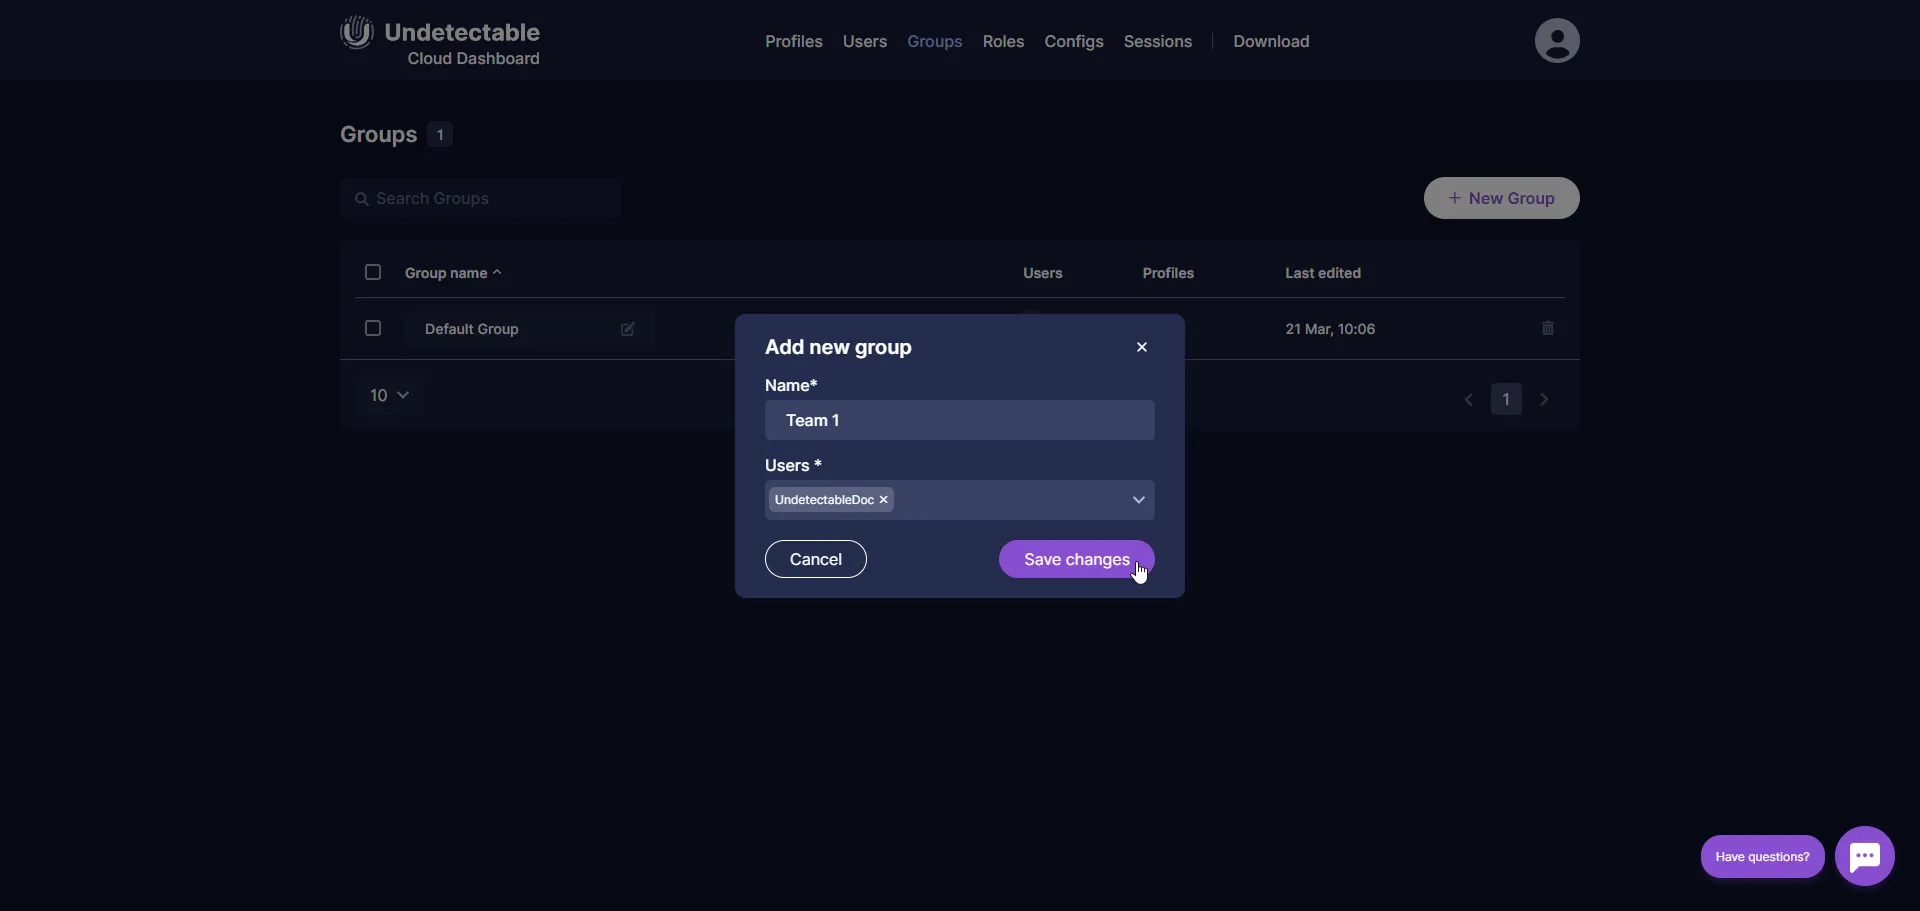
- To create a new profile group, click the “New Group” button. In the pop-up window, enter the name of the new profile group.
- Select the users who need access to this profile group. To do this, check the boxes next to their identifiers.
- After selecting the users, click the “Save Changes” button. Now the new profile group will be created and available to the selected users.
Please note that only users with the appropriate role can create and edit profile groups.
Granting User Access to a Group
To grant access to a cloud profile group, follow these steps:

- Open the cloud panel.
- Find and select the “Users” tab in the cloud panel. Here you will see a table with users and their attributes.
- Review the table with users and find the user to whom you want to grant access to the cloud profile group.
- In the user table, find the “Groups” column. This column will display the current available groups for the user. Click on the dropdown list in this column.
- In the dropdown list, select the group to which you want to add the user. If the desired group is not in the list, make sure it has been created beforehand.
- After selecting the group and checking the box, the changes will be automatically saved.
Please note that access to cloud profile groups may be restricted by the system administrator. If you do not have access rights to user or group settings, please contact the system administrator for additional information.
Deleting a Group
- Go to the cloud panel.
- Find the “Groups” tab and click on it to open the list of available groups.
- In the group table, find the group you want to delete.
- Next to the group name, you will see a trash can icon. Click on it to delete the group.
- A confirmation window will appear. Make sure you have selected the correct group and click the confirmation button.
After deleting the group, all profiles that were in it will automatically move to the “Default” group. This is the default group that contains all profiles that do not belong to any other group. If you do not want all team members to have access to the transferred profiles, it is recommended to move them to another group in advance.
Change the group name
To change the group name in the Undetectable anti-detect browser cloud panel, follow these steps:
- Log in to your account in the Undetectable cloud panel.
- Go to the “Groups” section.
- Find the desired group in the group table that you want to change.
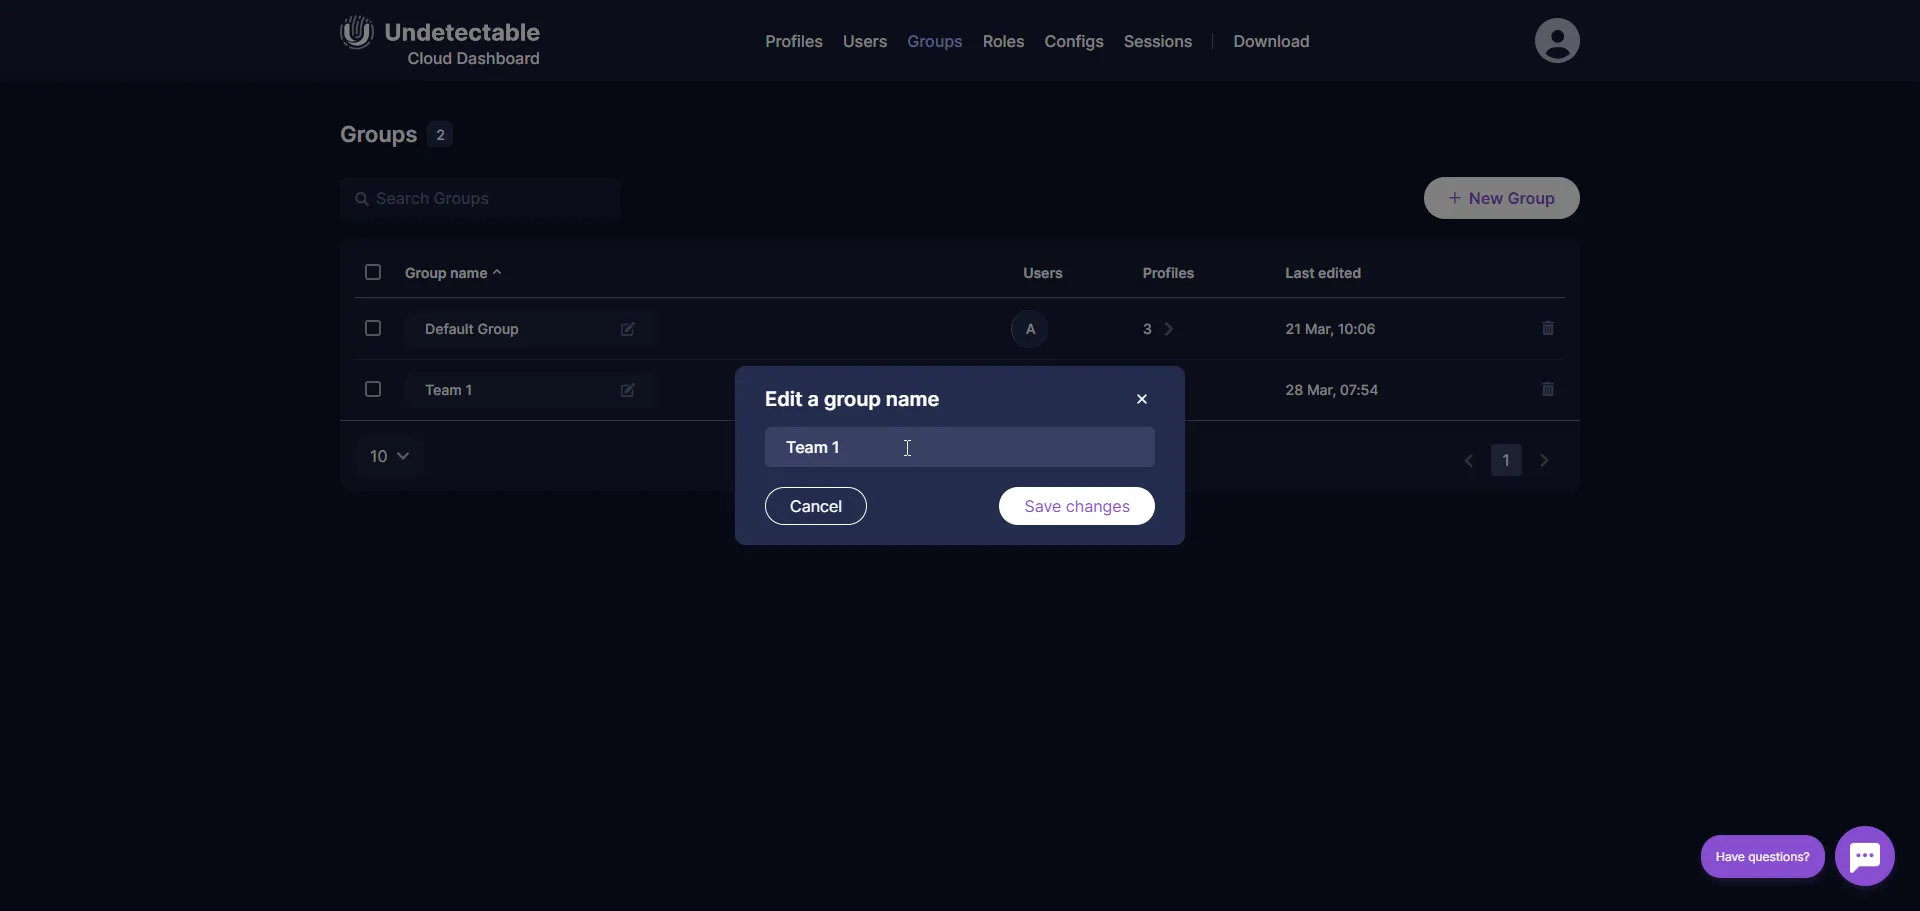
- Next to the group name, find the icon with a pencil image.
- In the pop-up window, enter the new group name in the corresponding field.
- Check the correctness of the entered group name and make sure it meets your requirements.
- Click the “Save” button.
- After saving the changes, you will see a notification of successful group name update.