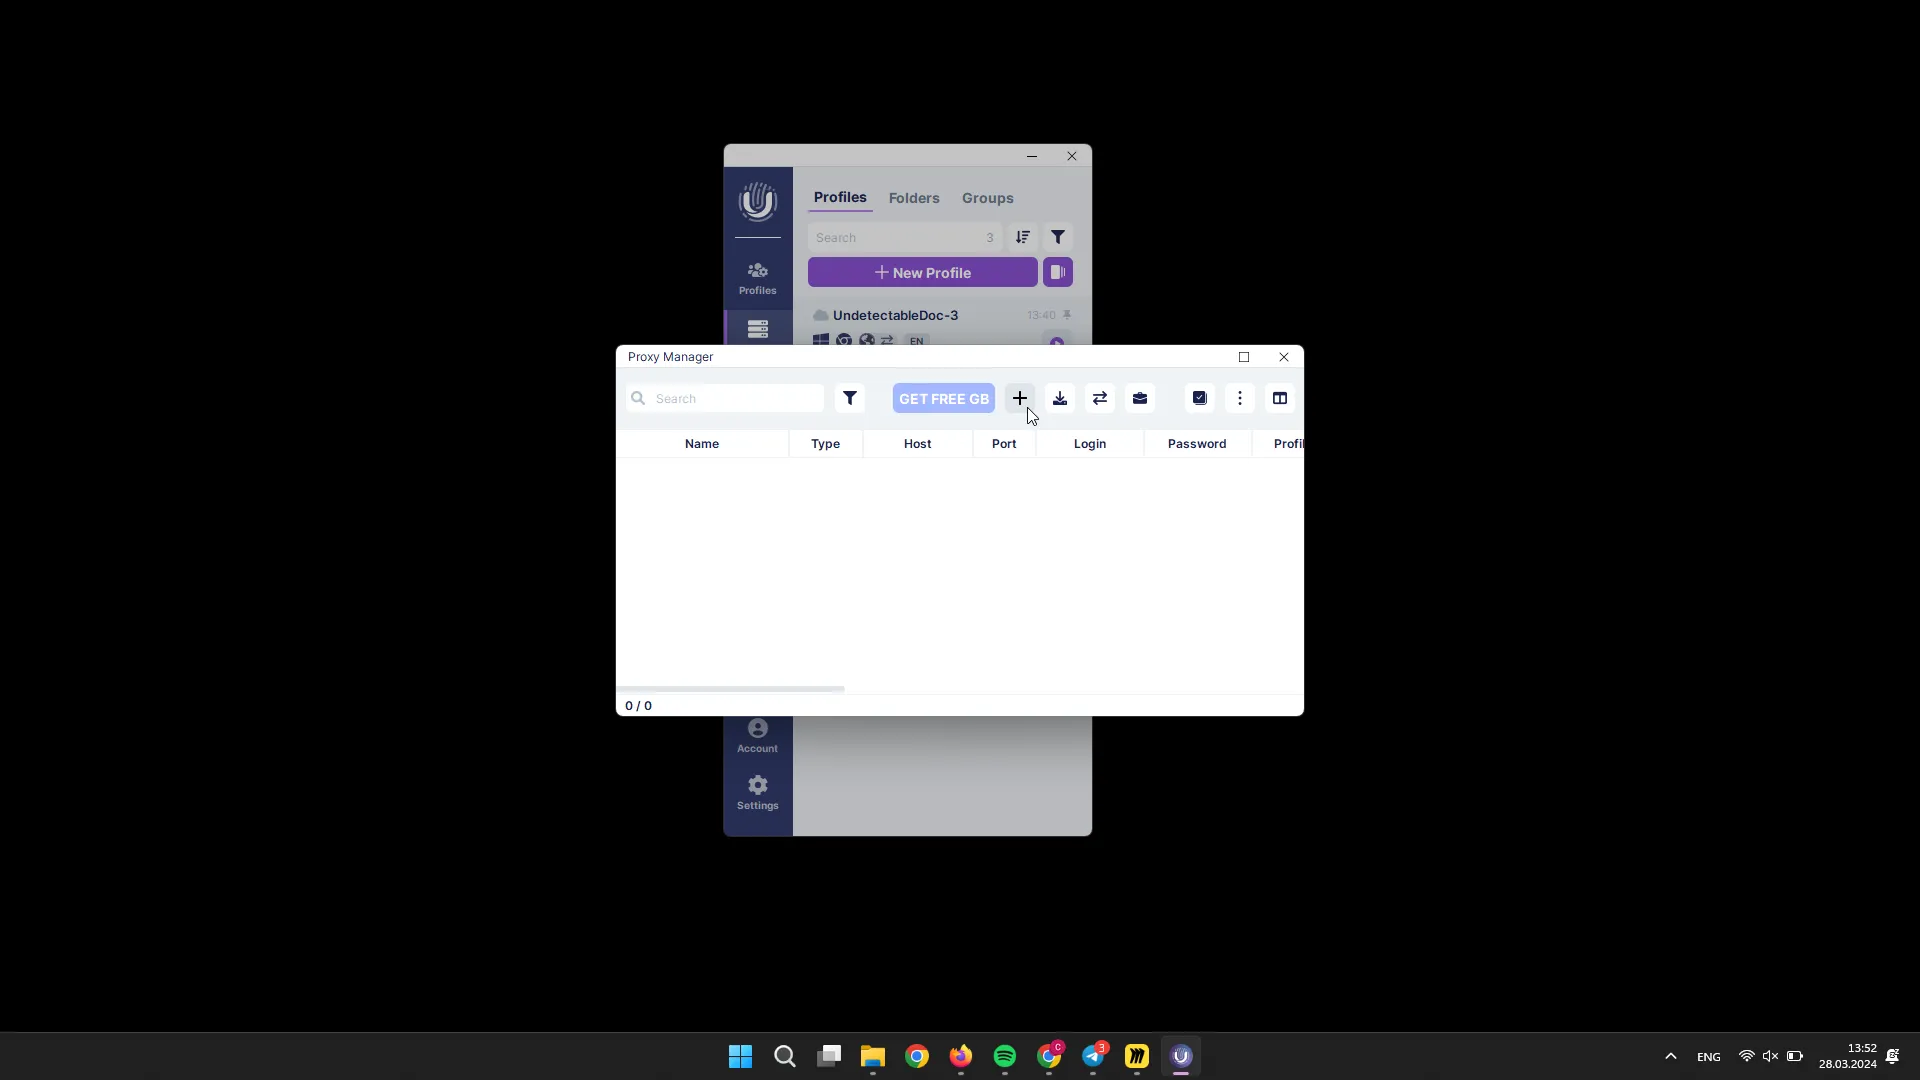
Proxy Manager
With the Proxy Manager, you have access to mass proxy management:
- adding a single proxy;
- import/export;
- status check;
- editing;
- deletion.
You can also work with our partners’ proxies through the Proxy Manager.
Adding a Proxy
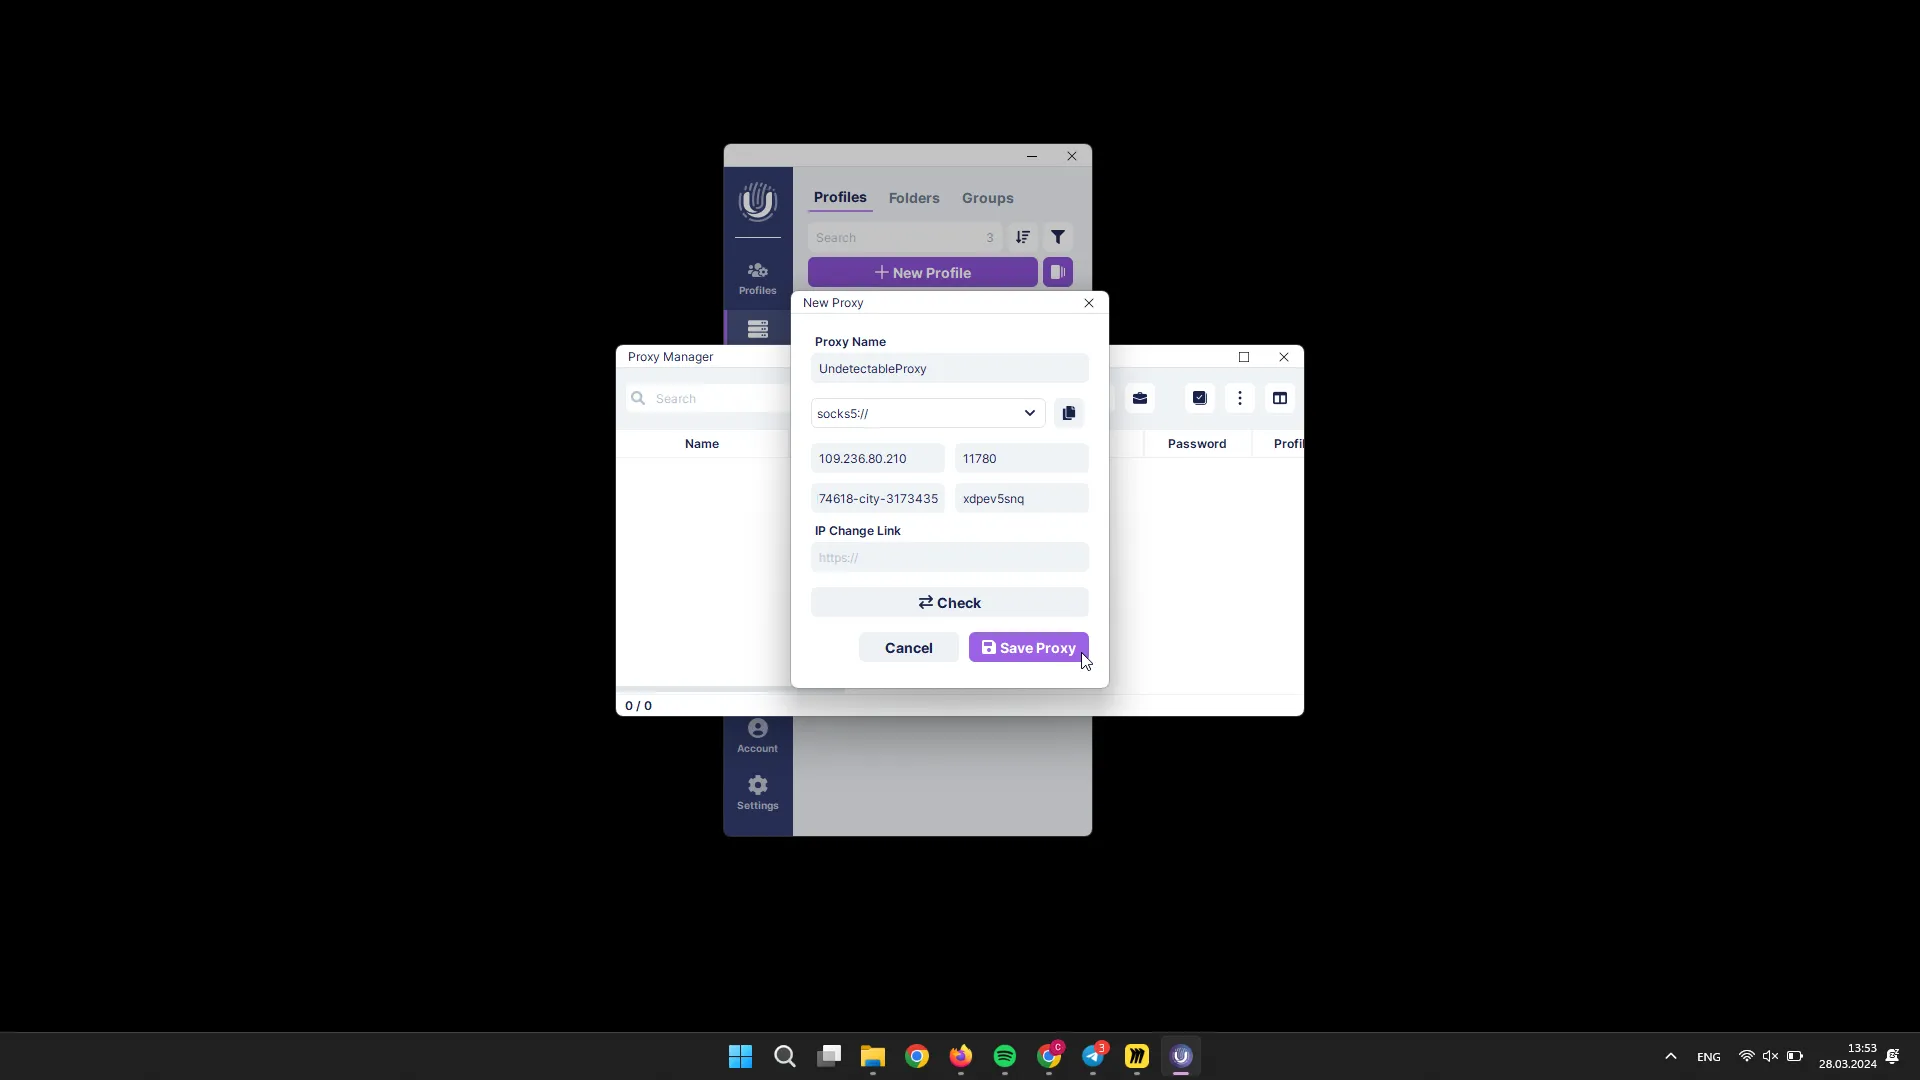
Section titled “Adding a Proxy”To add a proxy, click the “New Proxy” button.
In the pop-up window, fill in the proxy details:
- proxy name;
- proxy type;
- host;
- port;
- login (optional);
- password (optional);
- IP change link (optional).
You can also check the proxy status by clicking the “Check” button. To complete the process, click the “Add” button.
Proxy Import
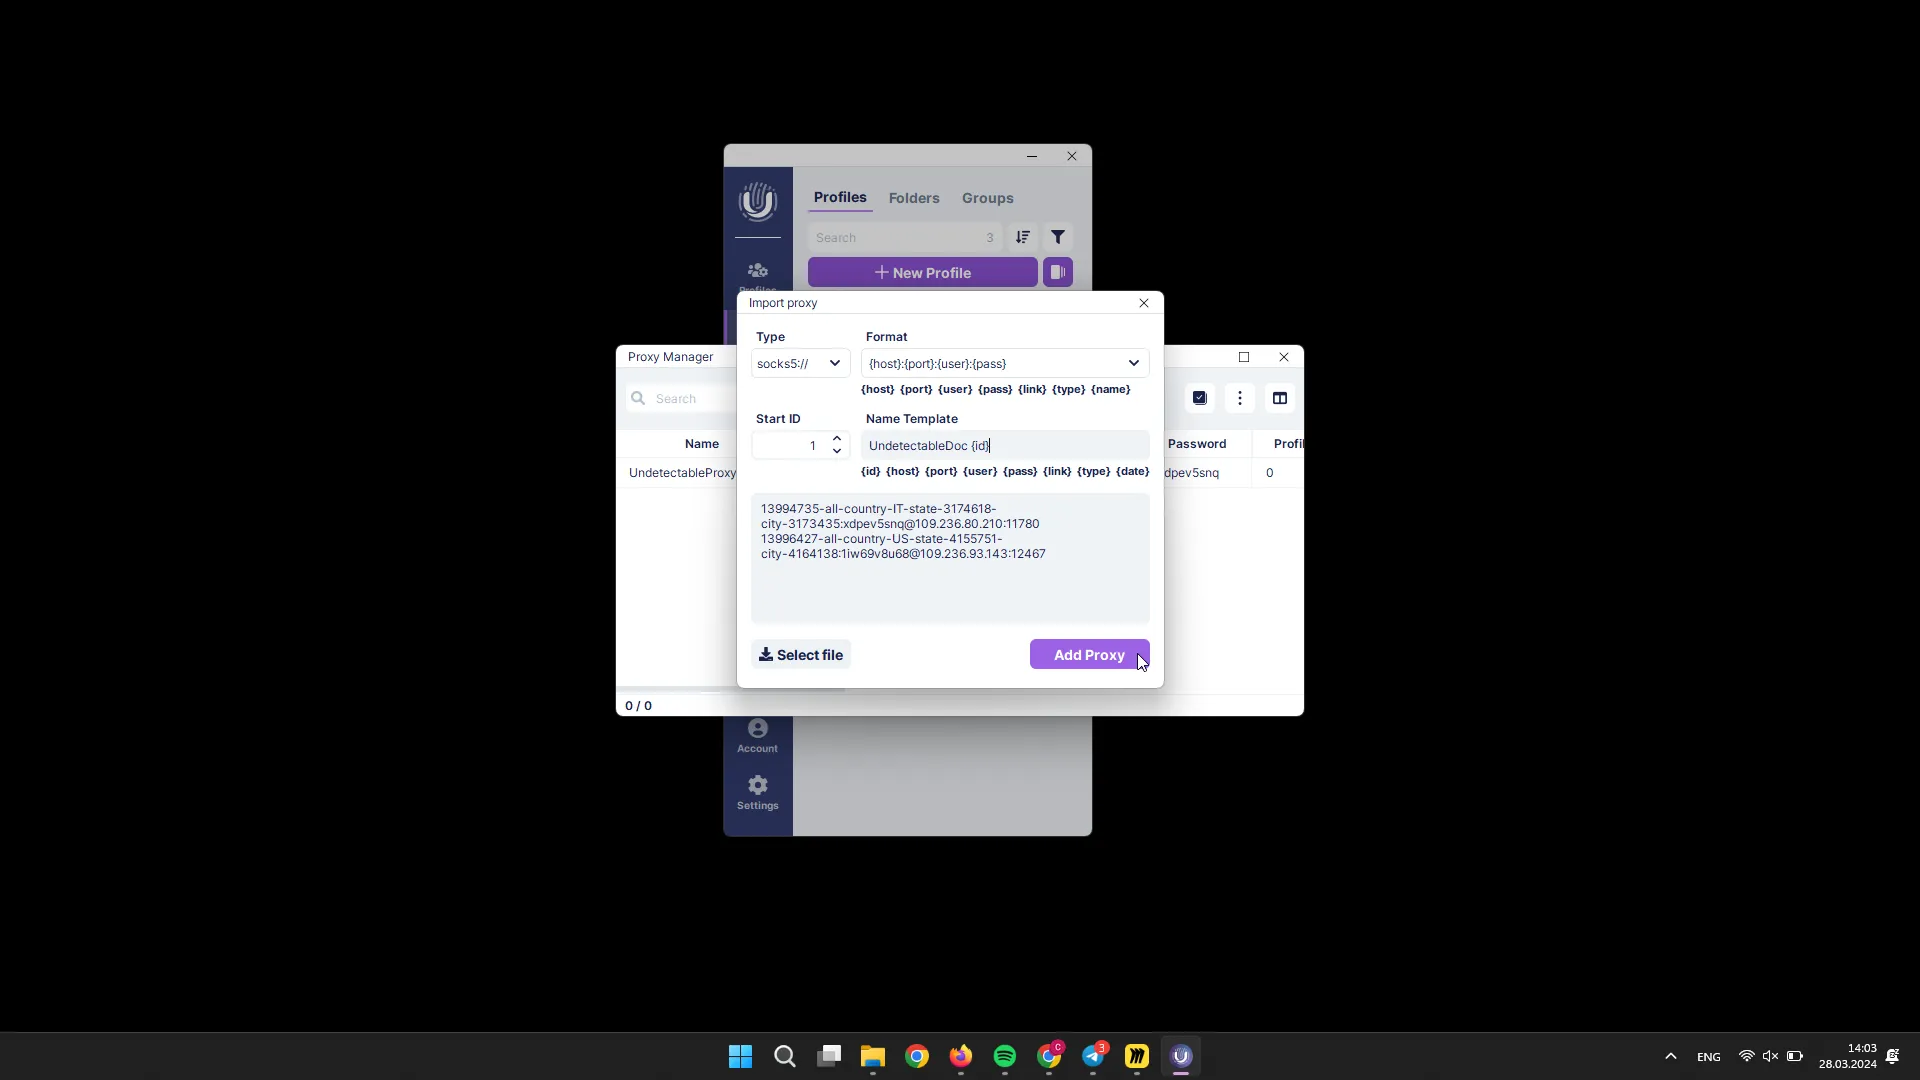
Section titled “Proxy Import”To add proxies in bulk, you can use the import feature. To do this, click the “Import” button.

In the pop-up window, fill in the details:
- proxy type;
- format (specify or compose the format in which the proxies were provided to you);
- Start ID (the starting ID from which numbering will begin);
- Name Template (specify the desired proxy name);
- specify proxies by text or add them from a file.
To complete the process, click the “Add” button.
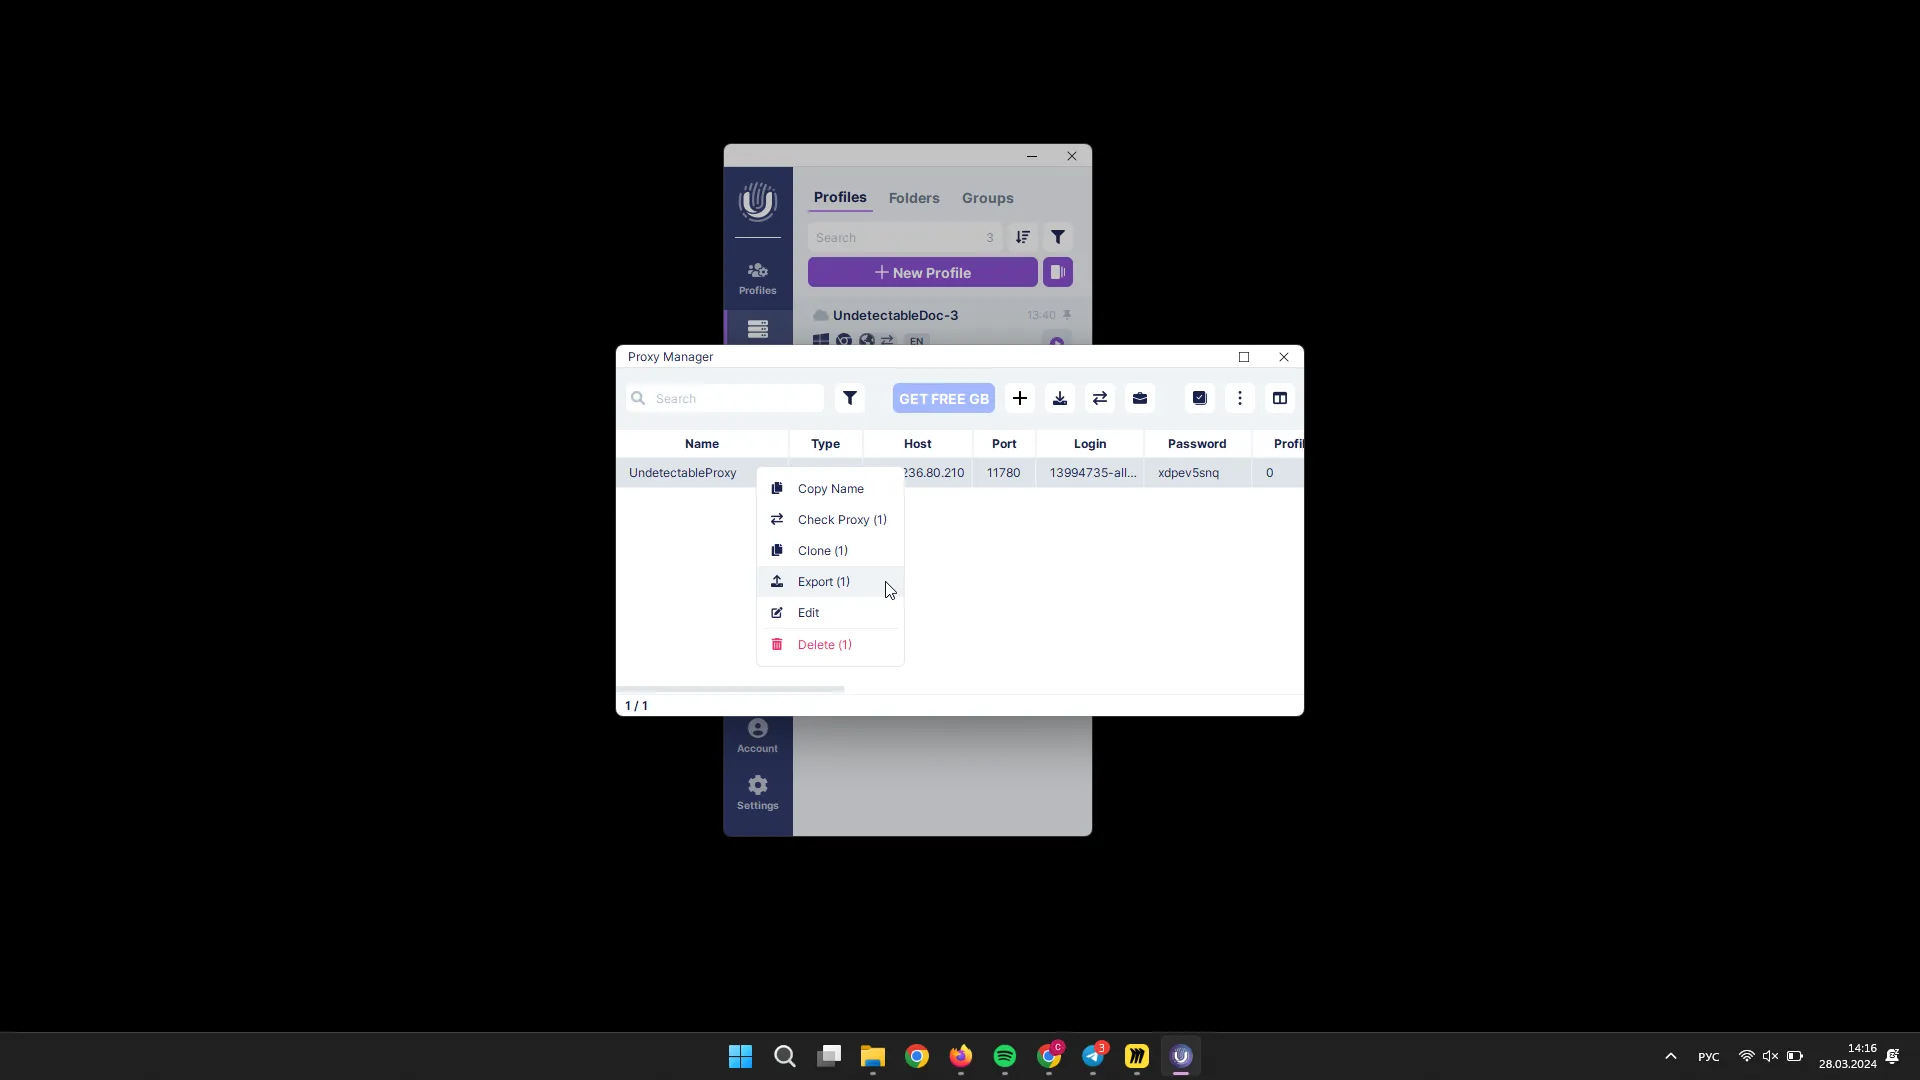
Proxy Export
Section titled “Proxy Export”To export proxy information, select the desired proxies and right-click on them, then click “Export”.
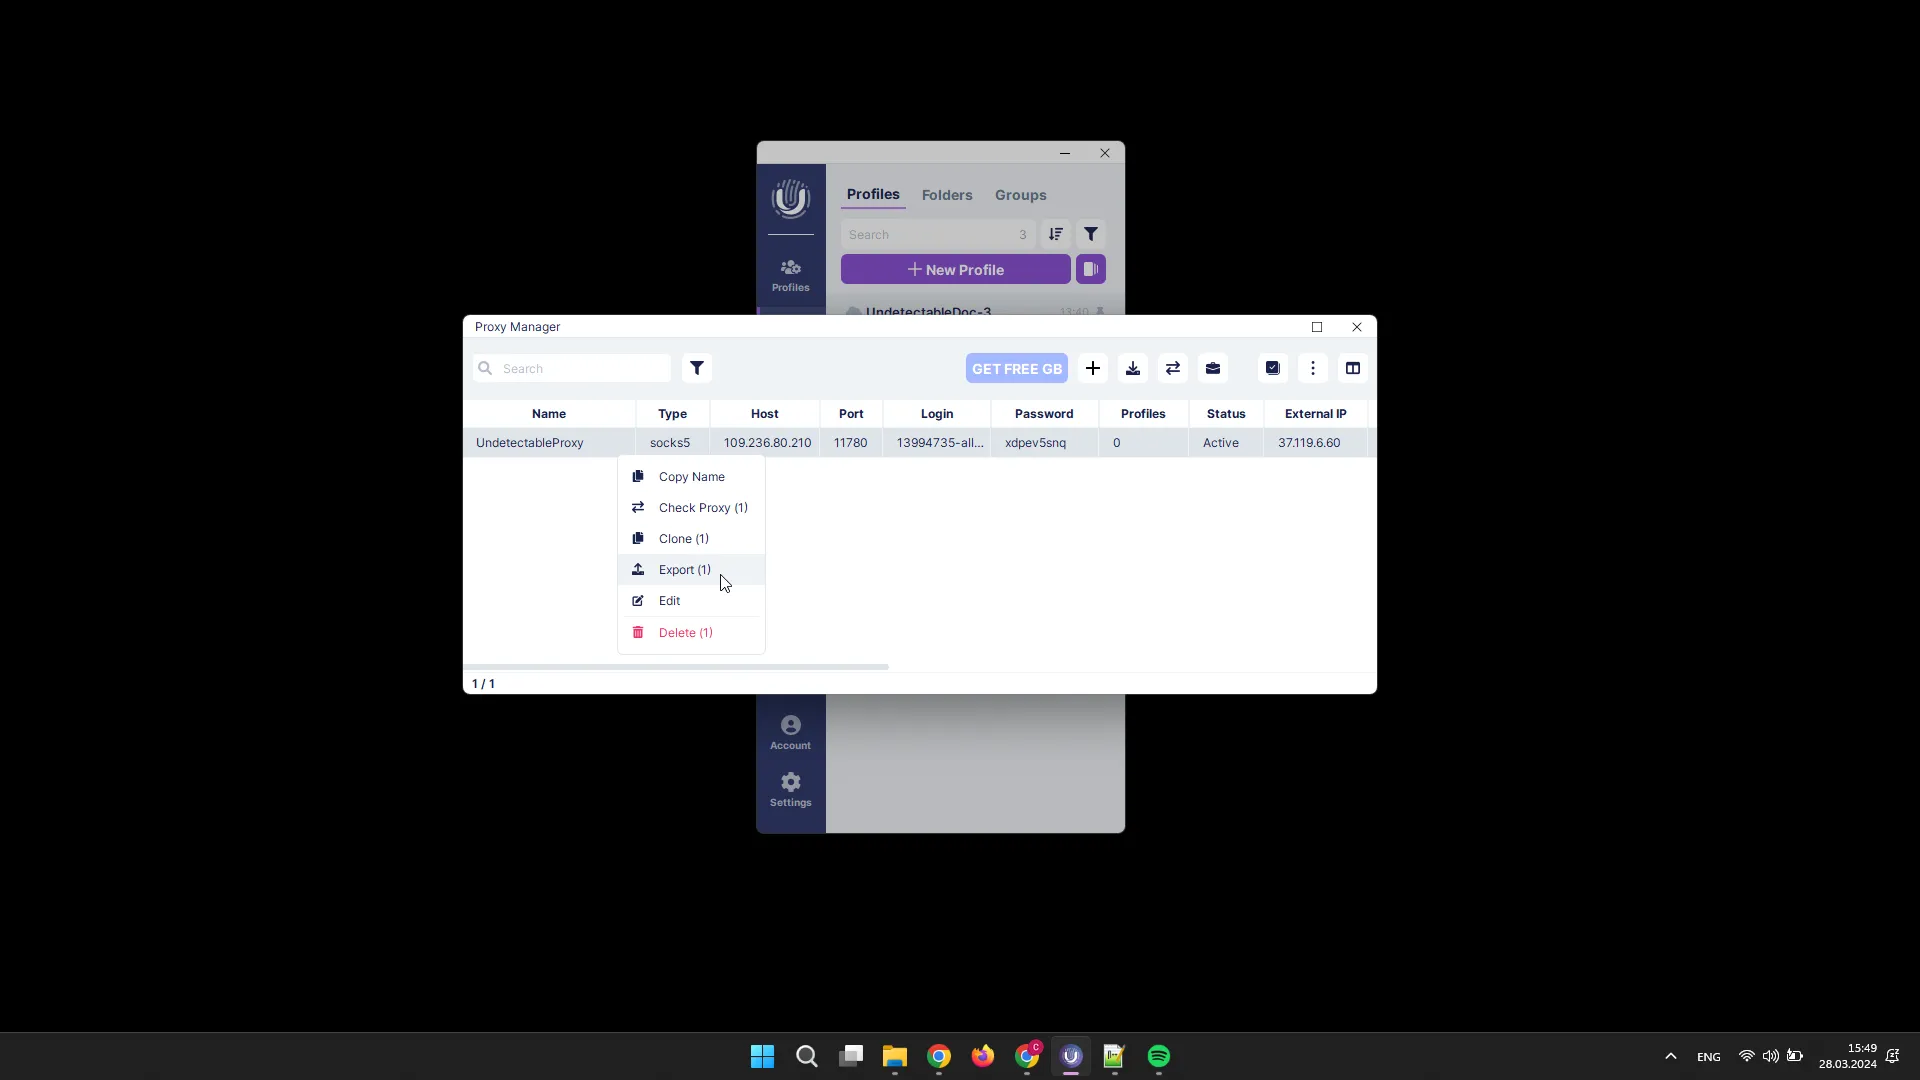
Proxy Status Check
Section titled “Proxy Status Check”To check the status of proxies, select the desired proxies and click the “Check Proxies” button.

This can also be done through the context menu by right-clicking on the profiles.

Proxy Editing
Section titled “Proxy Editing”To edit proxies, select the desired proxies and click the “Actions” button, then click “Edit”.

This can also be done through the context menu by right-clicking on the profiles.

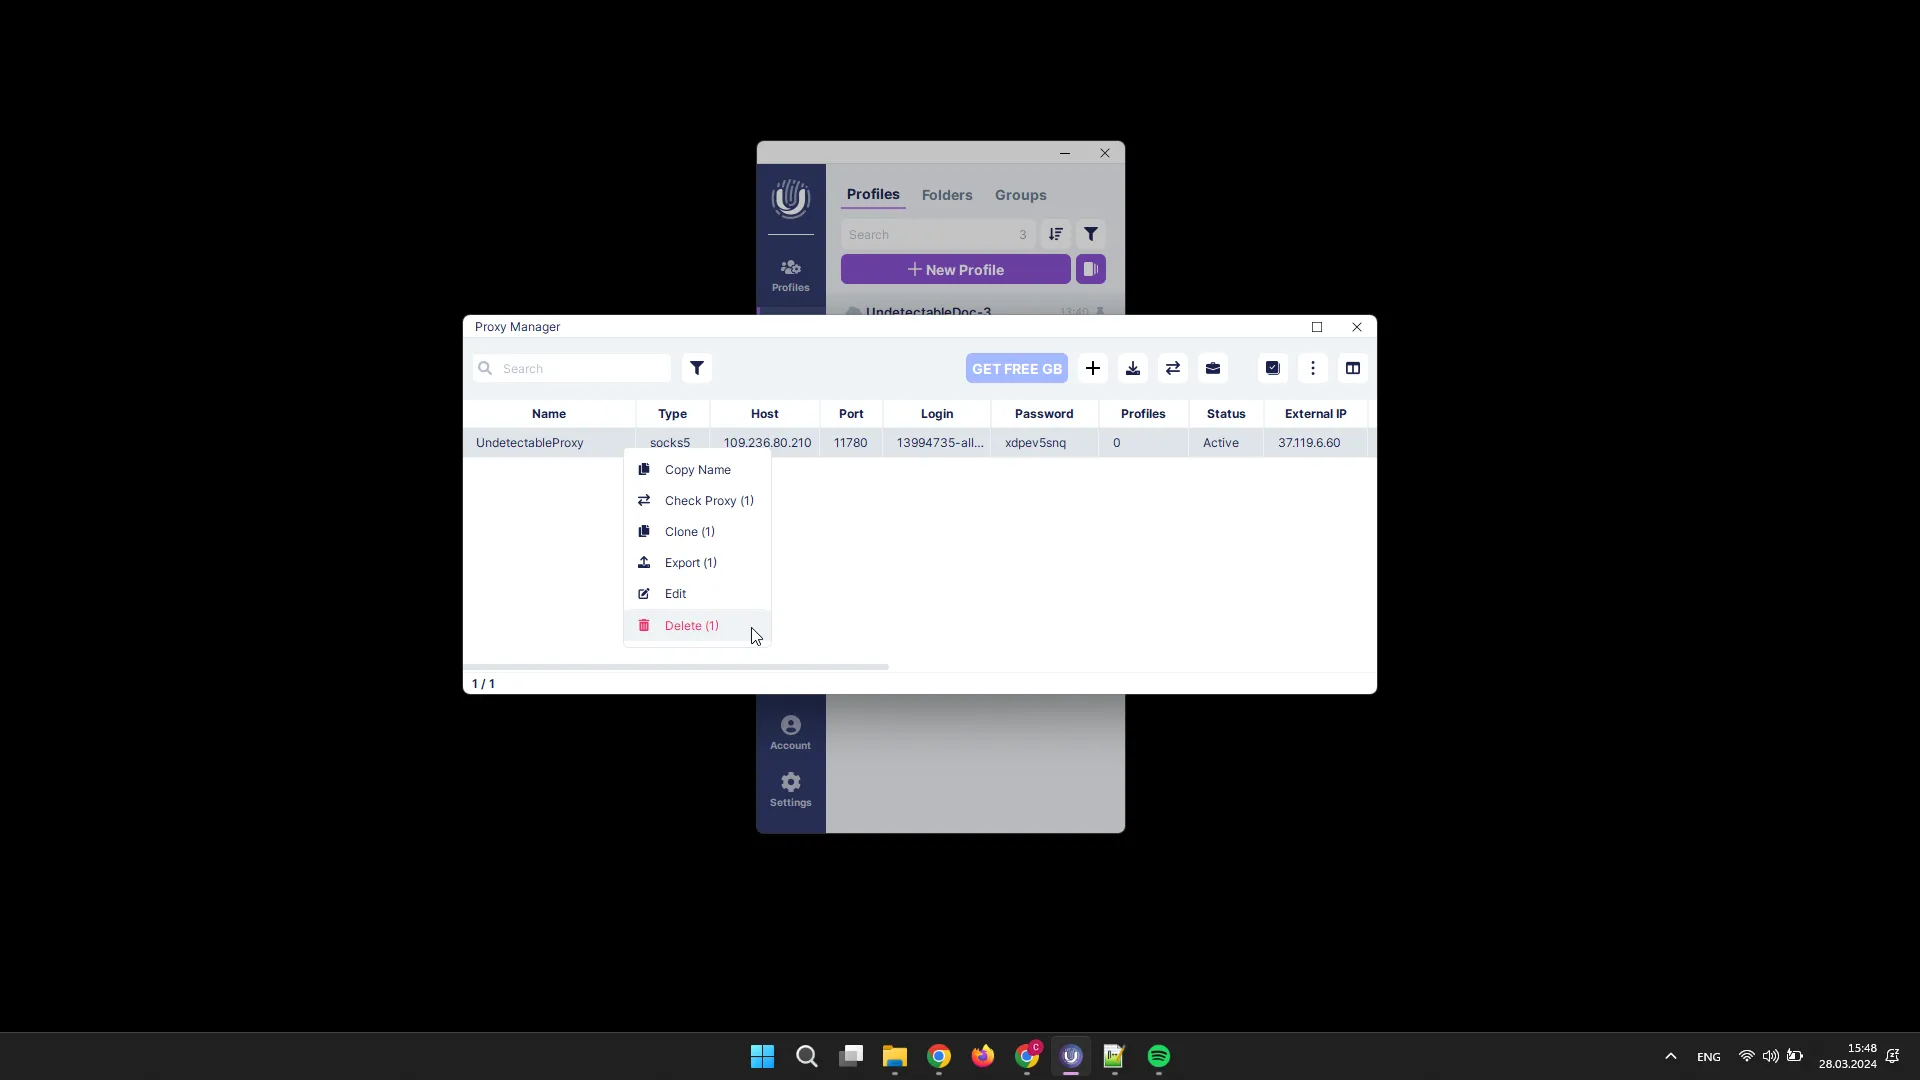
Proxy Deletion
Section titled “Proxy Deletion”To delete proxies, select the desired proxies and click the “Actions” button, then click “Delete”.

This can also be done through the context menu by right-clicking on the profiles.
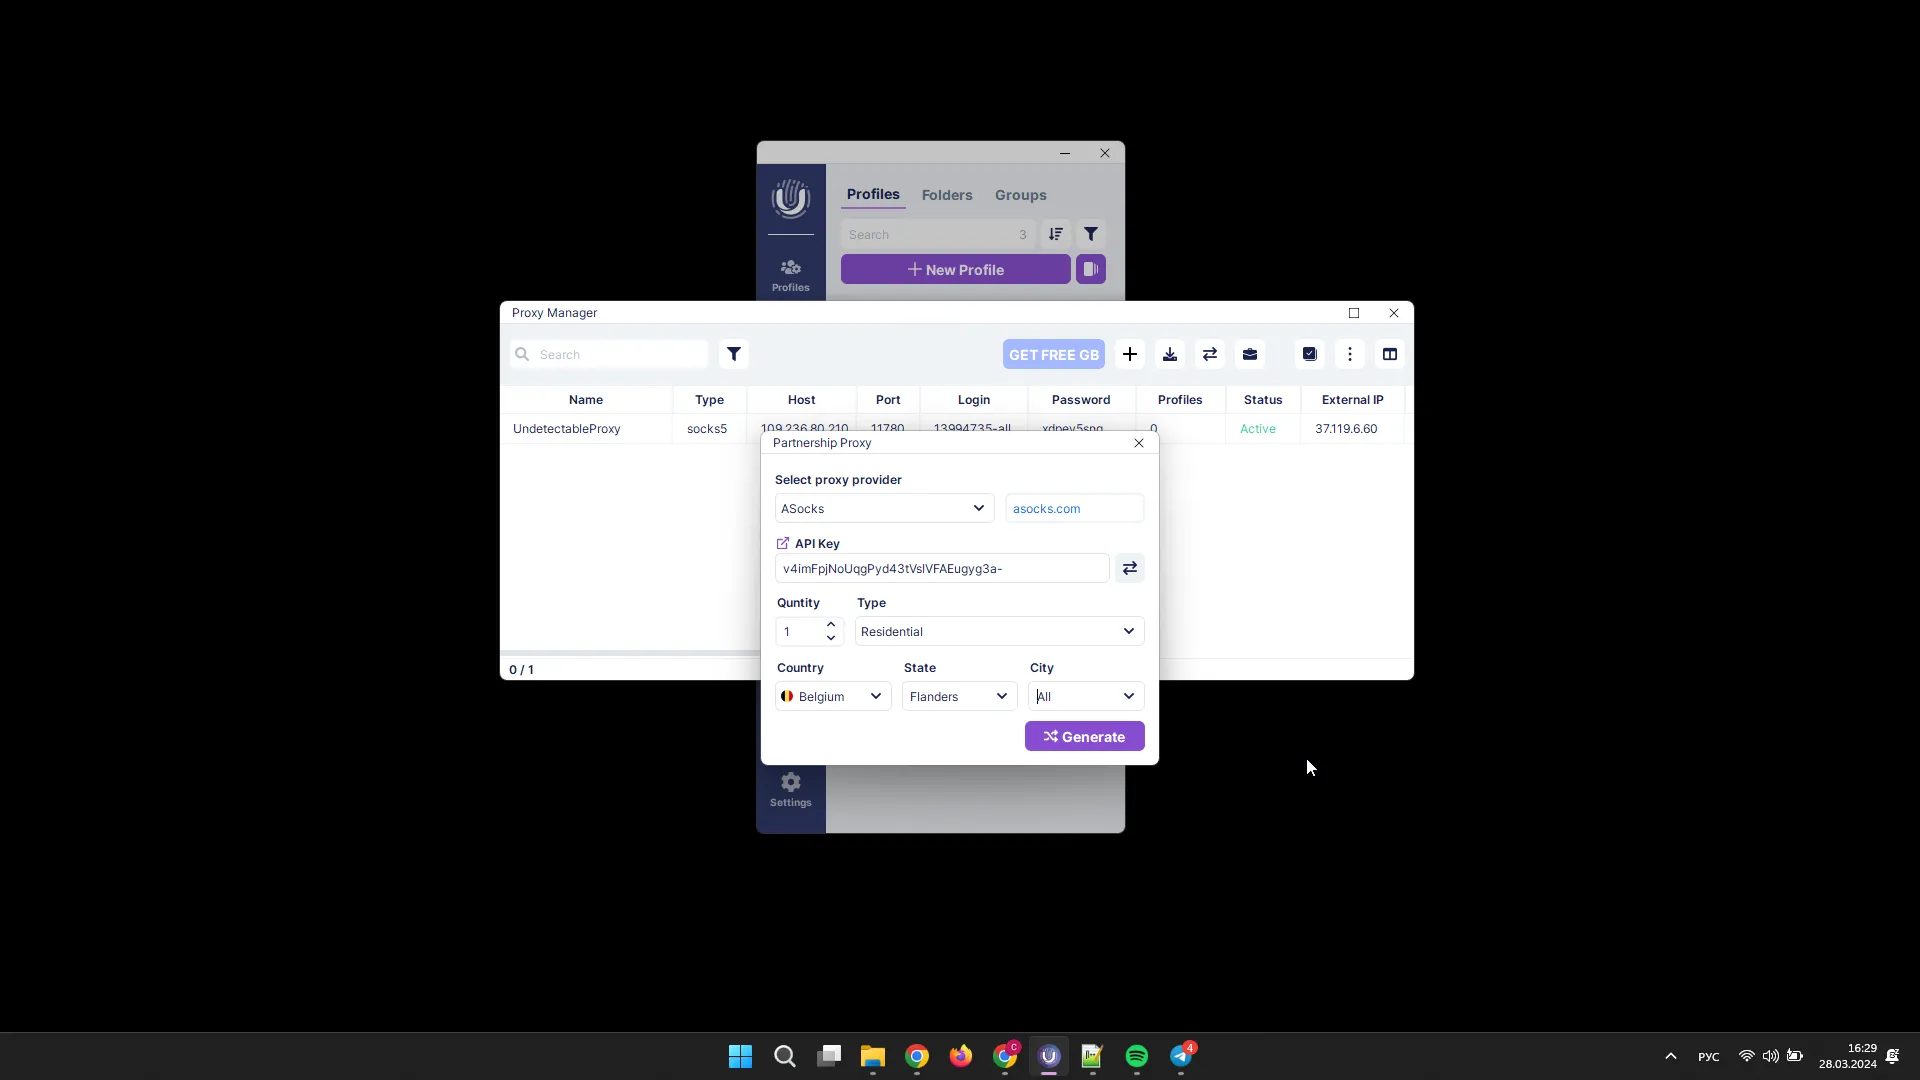
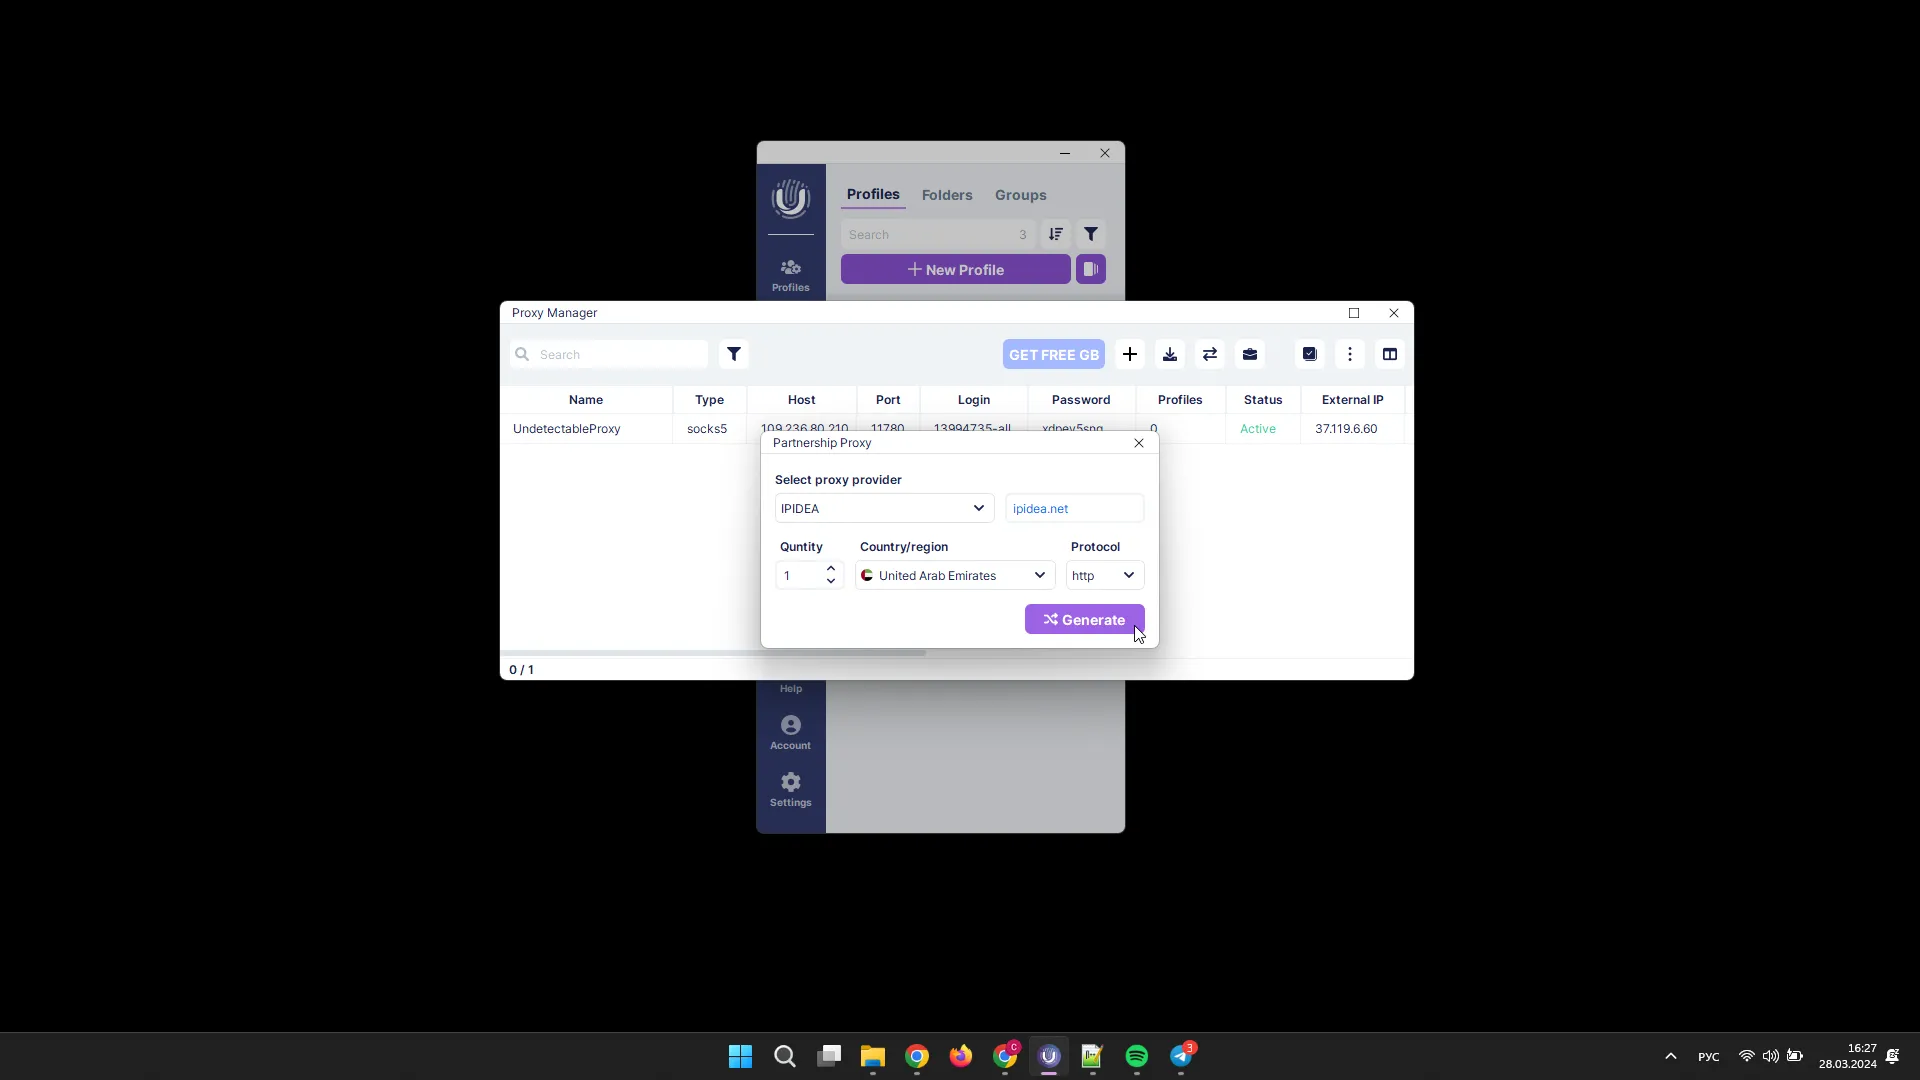
Working with Partner Proxies
Section titled “Working with Partner Proxies”The configuration may vary slightly for different partners.
For example, for ipidea.io, no additional settings are required. You only need to select the number of proxies, country, and the desired protocol, then click the “Generate” button, and finally click “Add”.
For asocks.com, you need to specify the API key, which can be found in the personal account of this proxy provider, and then click the connection button “Get Proxies”.
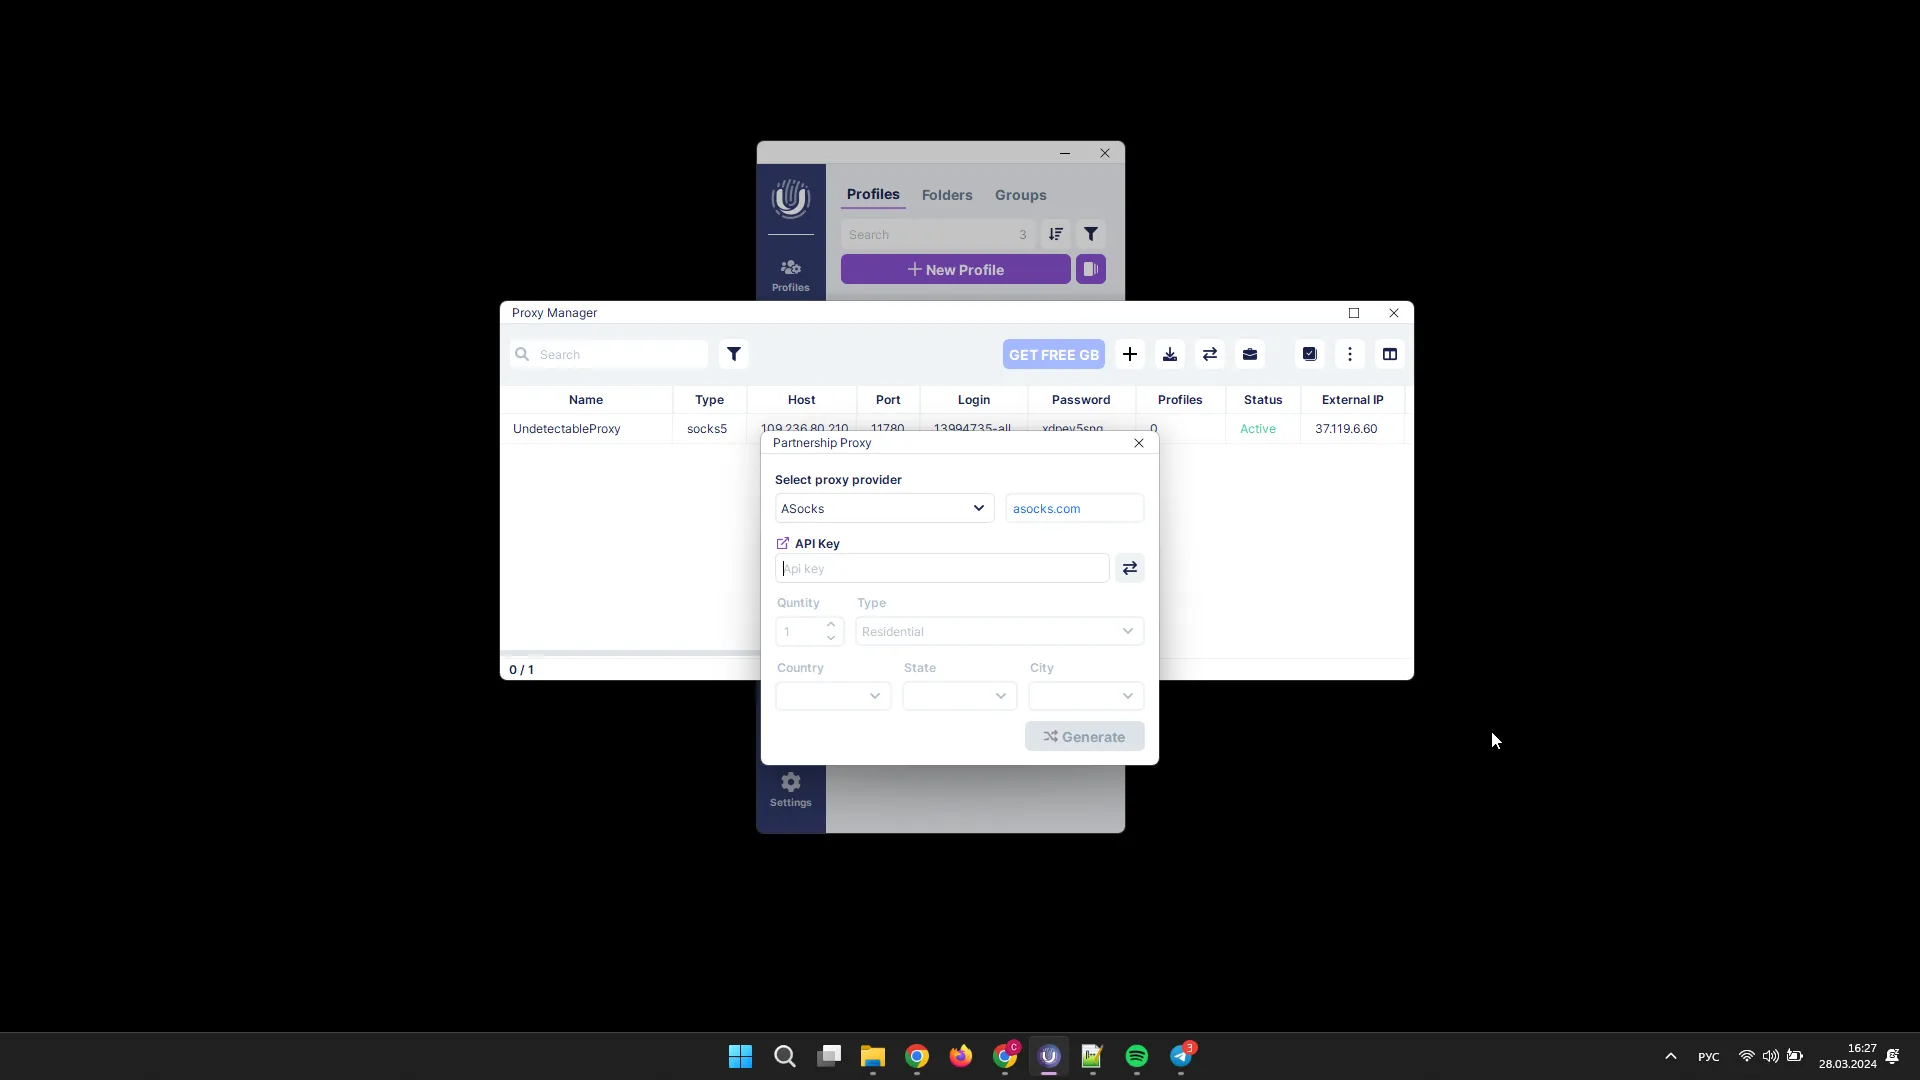
After that, select the number of proxies and their parameters, click the “Generate” button, and finally click “Add”.